Here is how you build a Eternus Assault Armor model kit. This Multi-part kit Magnet-Ready kit designed for flex-ability and can be posed in a variety of poses. Use these instructions as a guide but feel free to be more dynamic with your kit.
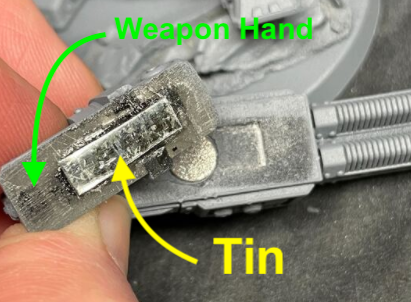
To assemble the Eternus Assault Armor with magnets for switching weapons you will need the following sizes (all measurements are diameter x depth):
- Elbow Joints: top arm 1/4" x 1/16", bottom arm 1/4 x 1/32" per arm
- Wrist Joints require two 1/4" x 1/32" per arm
- Top Missile Launcher requires two 1/8" x 1/16" magnets
- Each Weapon will require a 1/4" x 1/16" and a 1/4" x 1/32" magnet along with two smaller 1/8" x 1/16" and 1/8" x 1/32" magnets to prevent torquing.
The kit also comes with two plugs to use for elbow joints if you decide to assemble your Eternus without any magnets as well!
Step One: Assemble the Torso


Step Two: Assemble the Arms


Step Three: Assemble the Legs

Step Four: Bring it All Together.


Fully assembled it stands 7cm tall (about 3-1/2").
